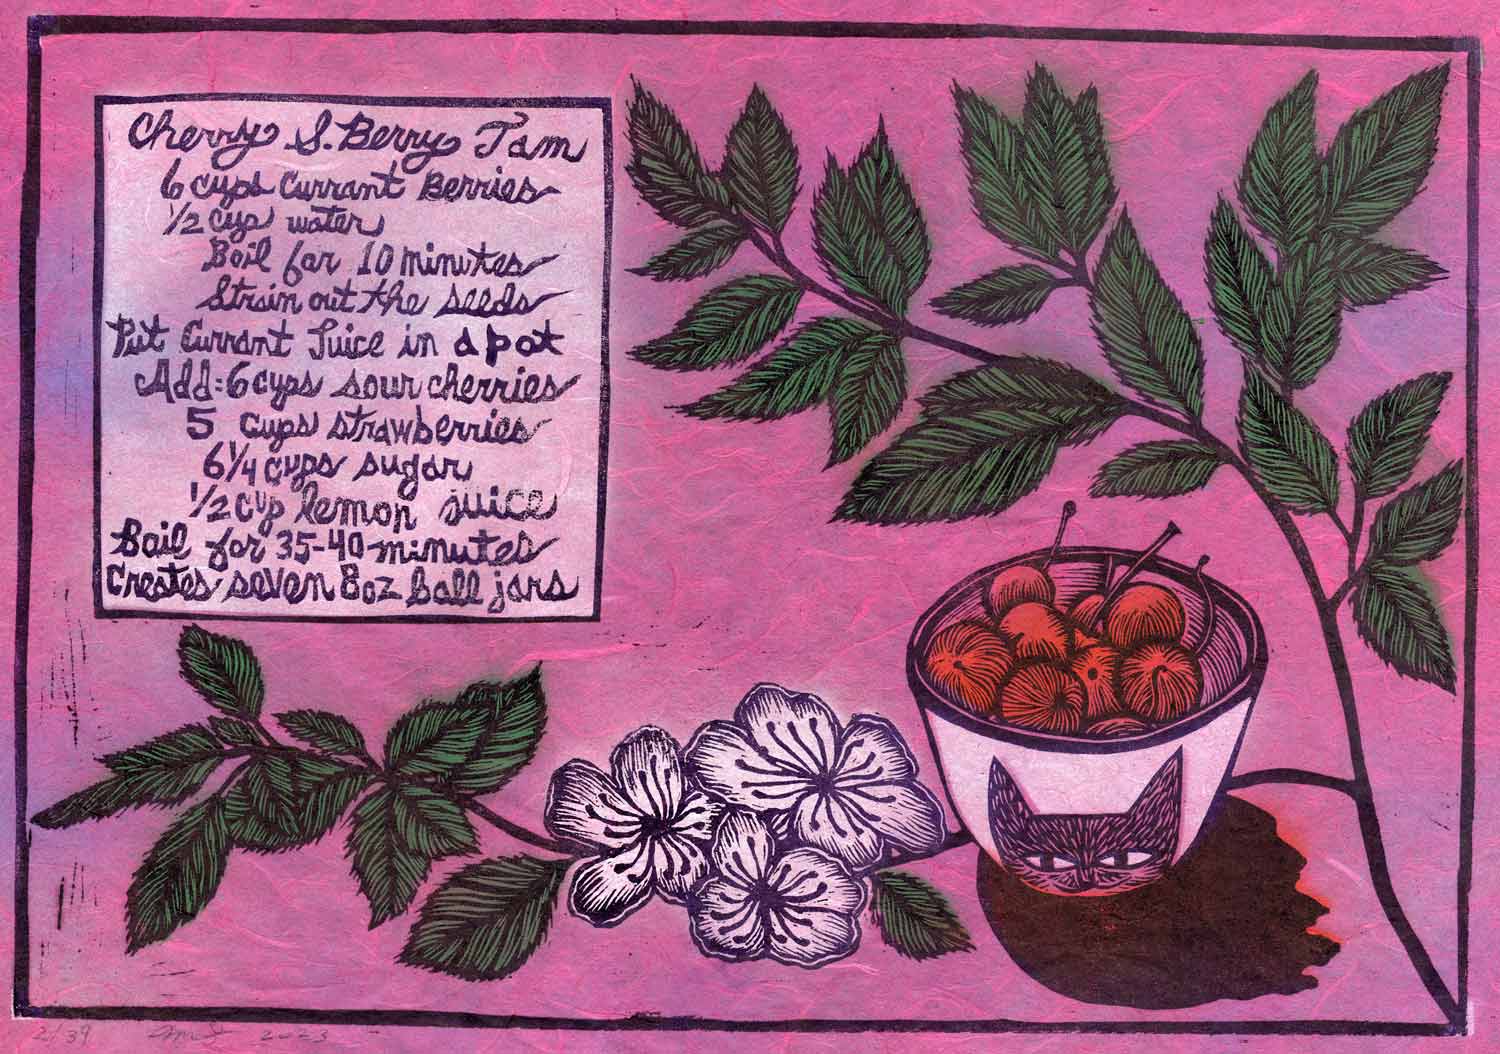
We have 9 fruit trees we have planted over the past decade in our backyard. Currently, our most successful is the sour cherry tree. The squirrels adore eating our pears and apples, and the peach and plum are still too young to produce fruit. So every year, I watch the Montmorency Cherry tree send out beautiful delicate flowers, and wait for the fruit to blush into a lovely bright red color. This year we harvested over 10 pounds of sour cherries. We also have a current bush plot near the cherry tree which was extremely productive this year. Currants are a natural source of pectin which can be used in jam making instead of using store bought pectin. I find the jams that come from sour cherries to be simply incredible, sweet, with a bloom of sour. I created this recipe through a couple years of jam experiments. This print describes how to make my favorite homemade jam. This is the first print in a series of recipes using food harvested from our backyard.
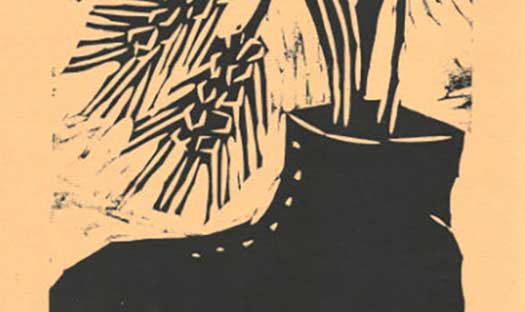
The print depicts a small bowl with a cat face on it, filled to the brim with sour cherries, with a cherry branch full of flowers next to it. In a square box is the recipe for the jam. This print is a one color linoleum block print with 3 colors of spray paint stencils on a pink textured mulberry paper.
Here is a more detailed description including the recipe for the jam with a bit more description:
Cherry S. Berry Jam:
Place 6 cups currant berries and 1/2 cup of water into a pot. Boil it for 10 minutes. Place the mixture into a strainer to remove the seeds. Try to push through as much juice as possible. Put the currant juice into a large pot on the stove and add 6 cups of sour cherries, 5 cups of strawberries, 6 1/4 cups of sugar, and 1/2 cup of lemon juice. (Ideally use fresh organic berries from your garden or local farmers to maximize freshness and avoid the addition of pesticides). Bring the mixture to a boil and cook for 35-40 minutes, stirring to make sure that it doesn't boil over. I reduce the heat to a medium setting while keeping it boiling. The ideal jam is finished when you add a spoon into the mixture and it sticks to the spoon and doesn't run off quickly. If this is your first time making jam, I recommend watching a few videos online of people making jam to see what this looks like. After it is ready, add it into mason jars using a clean metal ladle so that you can pour the mixture into the jars without dripping. This recipe will fill seven 8 ounce ball mason jars. I use clean mason jars with new canning lids. After filling the jars up, flip the jars over onto the counter (so the lid is face down). The jar lids should pop down into canning position within around 15 minutes. Jam can be effectively canned without using a water bath if you flip them over in this way -this is the style of jam making I learned from my mom who learned this method from her friend in France.
If you haven't done fruit canning before, I recommend reading a book on canning before trying this recipe. It is important to have clean hands, sterile tools, and a more comprehensive recipe book will be very helpful if you have limited experience with fruit canning. One recommendation is the "Ball Complete Book of Home Preserving" though there are many many fine resources to utilize.
This is the first print in a series of garden recipes. The second print, a recipe for chunky garden pesto, is available at this link.
